Creating a Ventoy USB stick
Between my homelab, testing new distributions, and the occasional recovery job, I found myself constantly reformatting USB sticks to flash yet another ISO. Every time a new tool or installer came out I would erase the drive, dd the image, and hope I picked the right /dev/diskN. Ventoy fixes this once and for all: you install it to a USB drive a single time, and from then on you just drag ISOs onto the drive and pick them from a boot menu at startup.
Why Ventoy
Ventoy is an open source tool to create a bootable USB drive for ISO/WIM/IMG/VHD(x)/EFI files. The workflow it enables is what makes it worthwhile:
-
No more reflashing. Install once, then drag-and-drop new ISOs whenever you need them.
-
Multiple ISOs on one stick. Ventoy scans the drive and presents a boot menu so you can keep Proxmox, Ubuntu, a memtest image, and a Windows installer all on the same drive.
-
The drive stays usable. The data partition is a normal exFAT/NTFS filesystem, so you can also use it as a regular USB stick between boots.
-
Persistent and updatable. Ventoy itself can be upgraded in place without wiping the ISOs you already put on the drive.
The catch on macOS
Ventoy does not ship a native macOS installer. The Windows and Linux installers do the actual work of writing the Ventoy bootloader to the USB drive. The trick I settled on is to run the Linux LiveCD in a VM via UTM and pass the physical USB drive through to it.
Steps
-
Download the Ventoy LiveCD.
-
Add the ISO file to UTM as a new virtual machine. I used Emulate > Linux > x86_64 with 1024 MB memory, 2 cores and 4 GB of storage.
-
It takes a bit to boot into the Ventoy LiveCD, be patient.
-
Once booted, allow the VM access to your USB drive: Virtual Machine > USB Devices > Your device > Connect. Check Disk Utility if you are unsure of the name of the device.
-
Run through the wizard and shutdown/remove the VM afterwards.
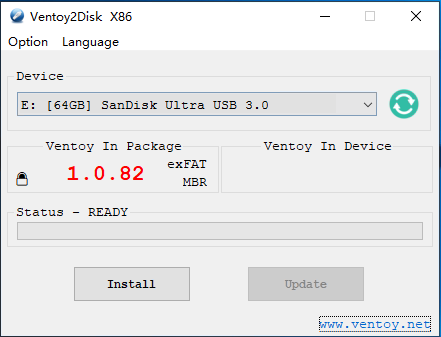
Last but not least mount the Ventoy USB drive on macOS and copy ISO files onto it.
The result
On next boot, Ventoy scans the drive and presents a menu of every ISO it finds. Selecting one boots straight into it as if the stick had been flashed with that image directly.
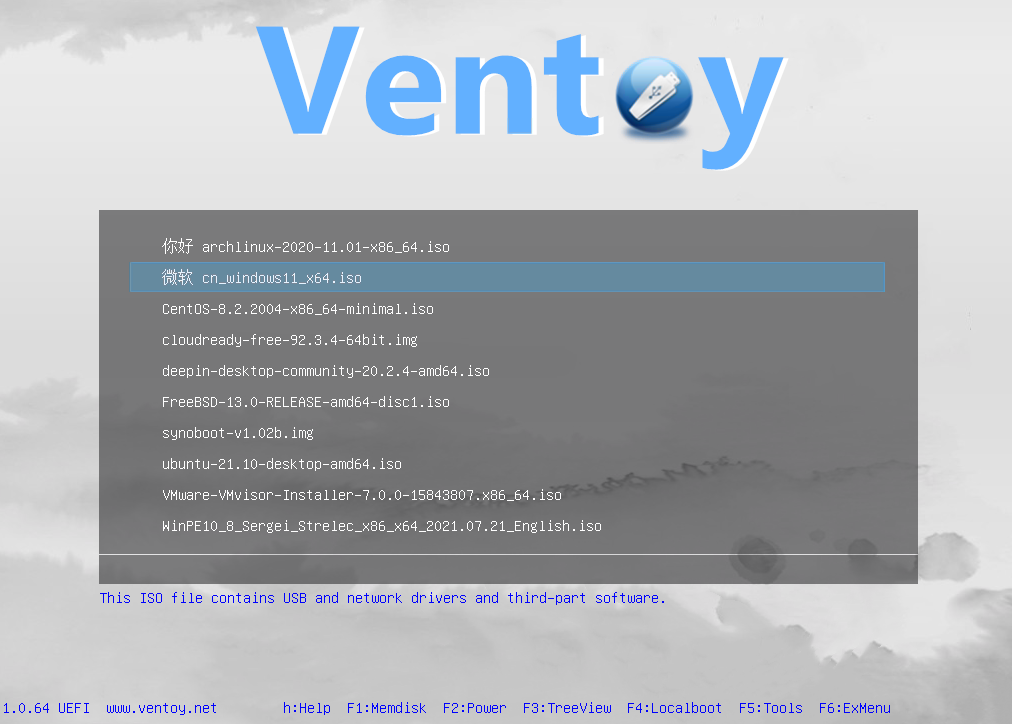
From here on out, keeping the stick current is a matter of dragging new ISOs onto the drive and deleting old ones. No more reformatting, no more picking the wrong /dev/diskN, and no more juggling a drawer full of single-purpose USB sticks.